> For the complete documentation index, see [llms.txt](https://docs.biodock.ai/llms.txt). Markdown versions of documentation pages are available by appending `.md` to page URLs; this page is available as [Markdown](https://docs.biodock.ai/ai-analysis/correcting-results-to-improve-your-model.md).
# Correcting results to improve your model
## Motivation
As you acquire different types of images, from different cell lines, procedures, or other variation, you may notice that for some new images, your results may not be 100% accurate. This is often the case when your initial training set didn't capture the variation seen within the images that you are running.
Biodock provides an easy way to take these results, import them as labels into your project, and only correct labels that may be missing or incorrect to improve performance in your model.
## Importing labels
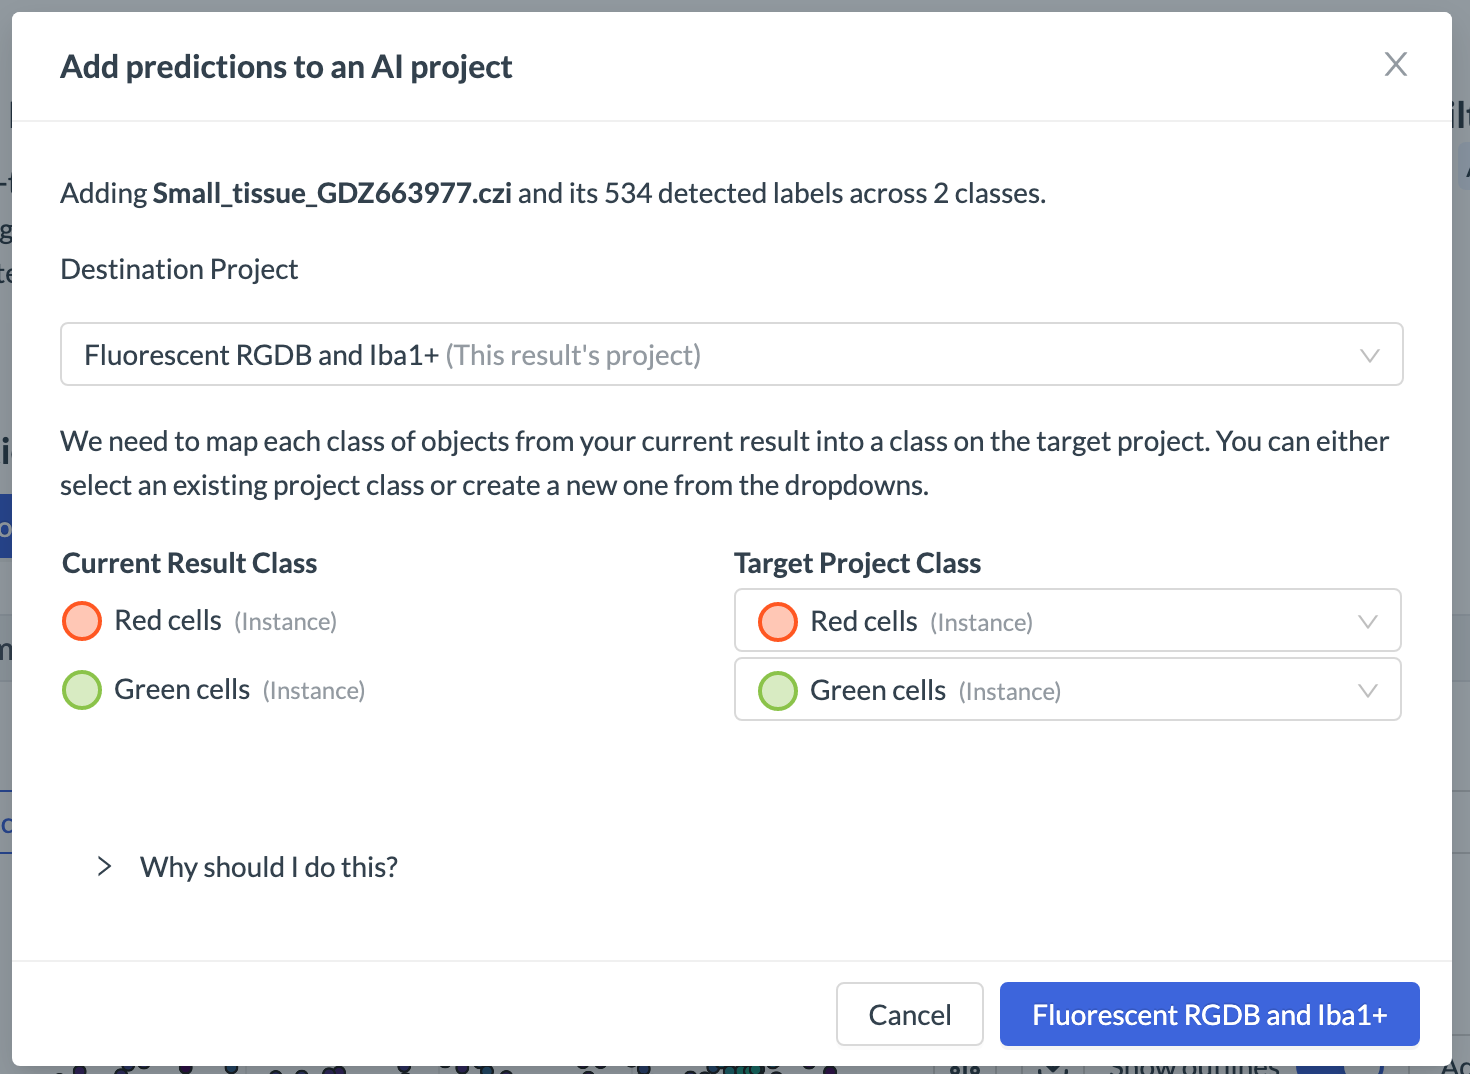
You can find the Add to AI Project button right above the image viewer. Click the button to start importing predictions for this option.
A modal will appear. If you've changed your class names, you may need to respecify which classes will be mapped to which labeling classes. In most cases, you'll want to import them back to the same project.
## Correcting and retraining
Once you click the blue button in the bottom right, the modal will close, and you'll soon get a notification in platform that the import succeeded. If you go back to the original project, you'll be able to open the imported image:
You should correct one or more of these imported tiles from this image, especially focusing on areas where the model underperformed. Make sure that every object is labeled correctly in the tile. Then you can mark these as fully-labeled by clicking on the tile checkbox.
Finally, once you've imported enough images and corrected more tiles, you should train another version! The new version should perform much better on images that look like the ones you corrected.
---
# Agent Instructions
This documentation is published with GitBook. GitBook is the documentation platform designed so that both humans and AI agents can read, navigate, and reason over technical content effectively. Learn more at gitbook.com.
## Querying This Documentation
If you need additional information that is not directly available in this page, you can query the documentation dynamically by asking a question.
Perform an HTTP GET request on the current page URL with the `ask` query parameter, and the optional `goal` query parameter:
```
GET https://docs.biodock.ai/ai-analysis/correcting-results-to-improve-your-model.md?ask=&goal=
```
`ask` is the immediate question: it should be specific, self-contained, and written in natural language.
`goal` is optional and describes the broader end goal you are ultimately trying to accomplish on behalf of the user. GitBook uses it to tailor the answer towards what is most useful for that goal.
The response will contain a direct answer to the question and relevant excerpts and sources from the documentation.
Use this mechanism when the answer is not explicitly present in the current page, you need clarification or additional context, or you want to retrieve related documentation sections.